Print Release can be used to print secure documents by ensuring they are not printed until you are present at the printer. This method of printing is associated with your NetID and FOB meaning only you have access to print the document.
Note:You need to add Secure Print to your list of printers in Papercut before attempting a secure print.
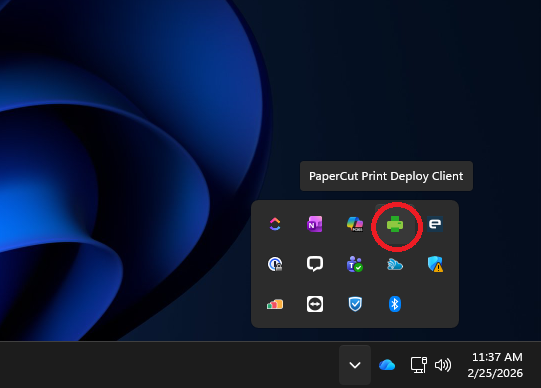
Toggle to PaperCut Print Deploy from your System Tray
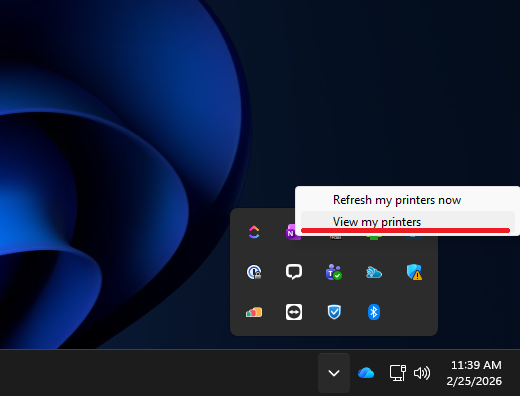
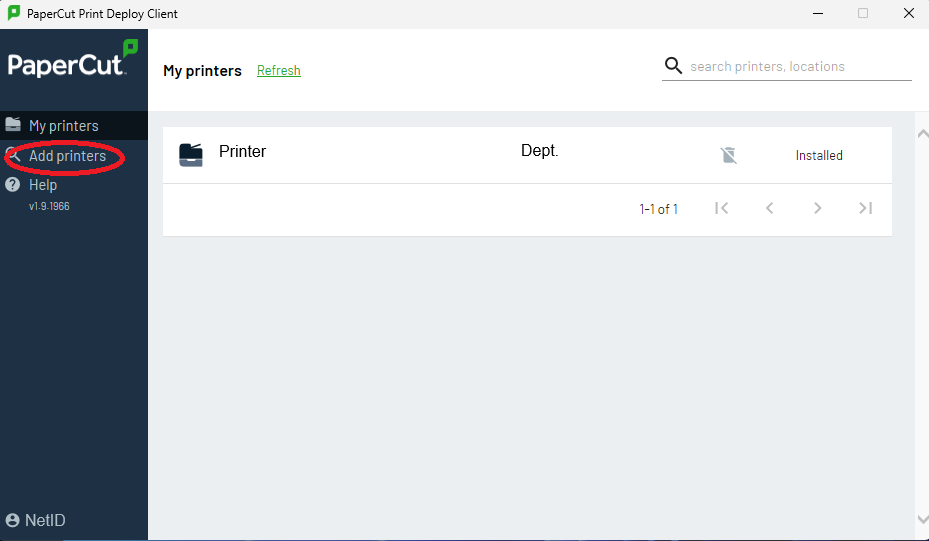
Right click on the green printer icon in your System Tray and select ‘My Printers’. This will bring up the PaperCut Print Deploy menu where you can view your printers and add optional printers, so long as you have the proper permissions.
2
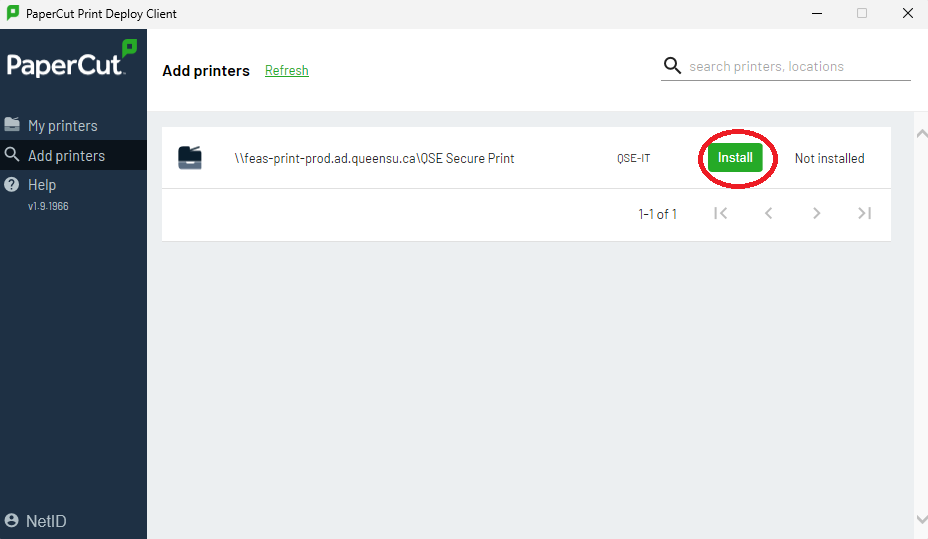
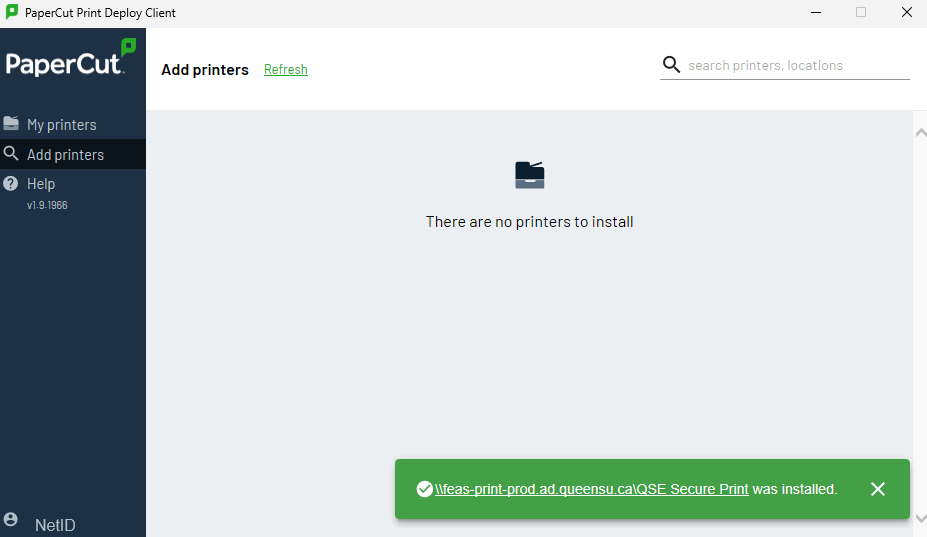
Toggle to 'Add Printers' and Search for 'QSE Secure Print'
Once the correct device comes up, please click ‘Install’.
Once the install is done, you should get a pop-up stating the printer has been added.
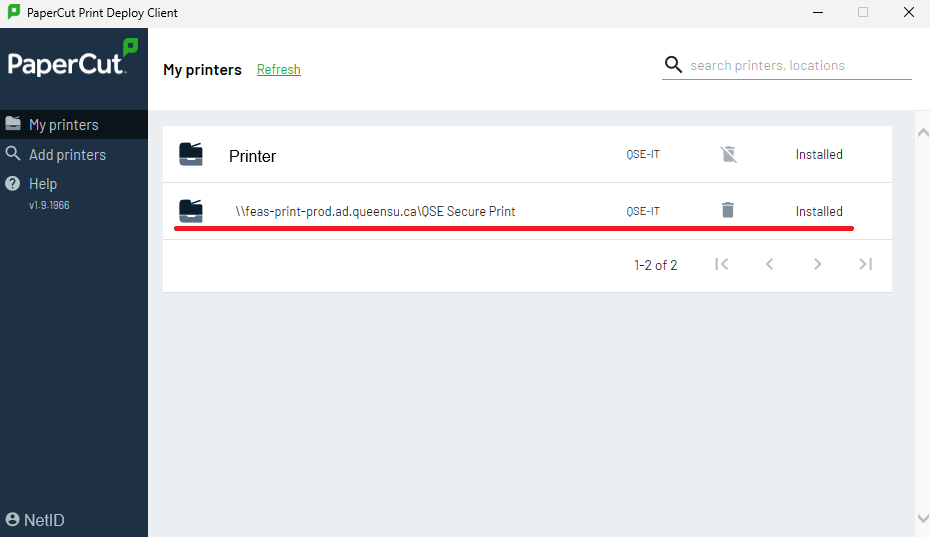
Toggle to ‘My Printers’. QSE Secure Print should be listed in this tab. It can now be used to do Secure Print jobs.
Preparing and Printing your Secure Print
1
Prepare your Secure Document for Print Release
When you go to print a document, regardless of file type, select QSE Secure Print as your printer
2
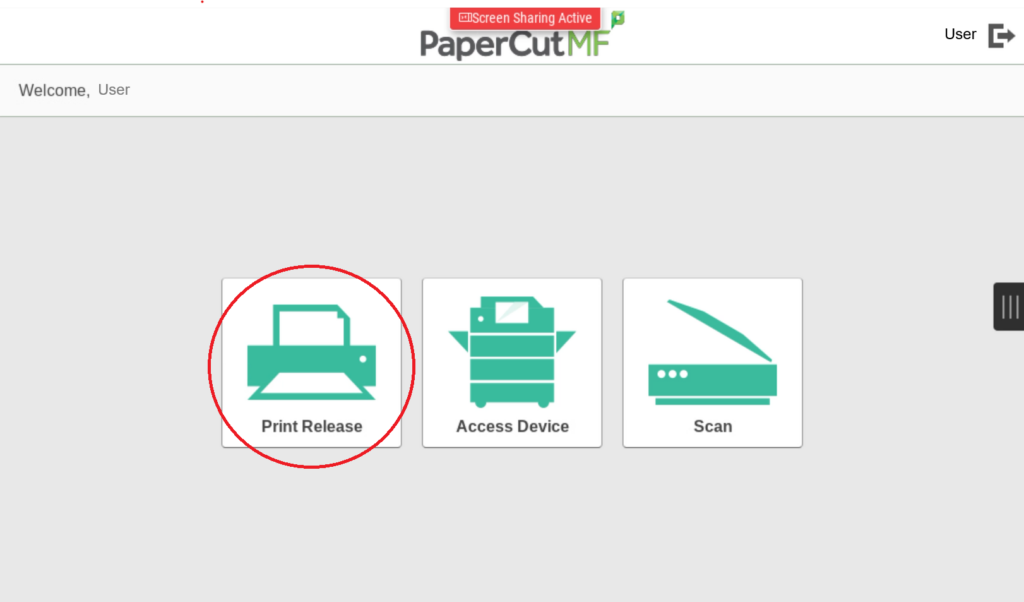
Go to your desired printer, sign in, and go to Print Release
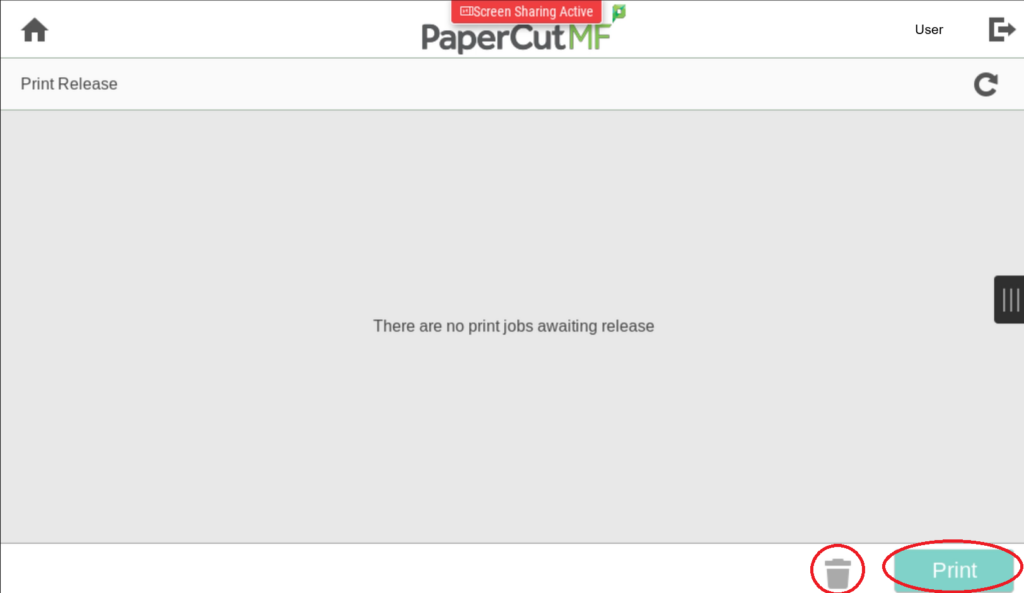
Your print release jobs should be listed here. From here you can select and print your secure documents or delete them from the print release queue.
Why does QSE Secure Print not populate as a search result for me?
It could be that you do not have the proper permissions to add QSE Secure Print. If you should have access, but cannot find this printer, please submit a ticket with the Smith Engineering IT team online via Service Desk.