Please note: This How To article is only for adding optional printers. The printers you have access to should automatically be installed in the PaperCut Print Deploy Client.
If you haven’t done so already, please ensure you have PaperCut Print Deploy installed on your device by following the steps in the linked Knowledge Base.
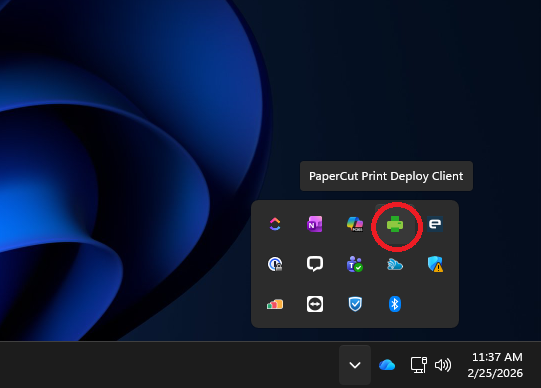
Toggle to PaperCut Print Deploy from your System Tray
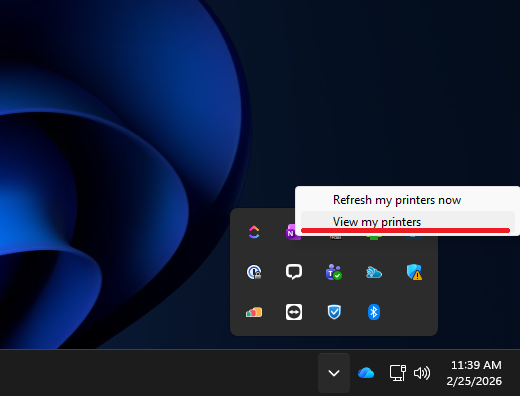
Right click on the green printer icon in your System Tray and select ‘My Printers’. This will bring up the PaperCut Print Deploy menu where you can view your printers and add optional printers, so long as you have the proper permissions.
2
Search, Add, and Install your printer
Go to ‘Add Printers’, search for the desired printer and select it from the list to begin the installation. Once the install is done, the printer should be listed in the ‘My printers’ tab.
What if the printer I want to use isn’t listed?
It could be that you are not a part of the grouping that has access to the printer.
If you are meant have access to a printer but it is not a part of your list, please submit a ticket through the Service Desk portal. Keep in mind, if you are added to a grouping, it can take 24 hours for the grouping to sync and for you to see the printer.