You are here:
How to add Schoeffer printers to Win10
Synopsis
The following instructions are the recommended method for connecting a FEAS network printer -- hosted on Schoeffer -- to a Windows 10 computer. VDI users do not need to use these instructions as their printers are added automatically at log on. Schoeffer hosted printers are managed by PaperCut MF for usage and billing.
Downloads
Instructions
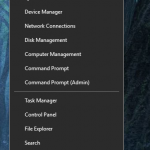
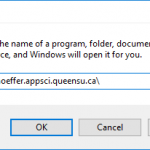
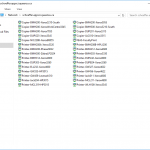
In the Run dialog enter the URI for Schoeffer: \\schoeffer.appsci.queensu.ca\; then click OK.
Warning
If the computer you are trying to add the printer to is not a domain joined printer (you do not log in with your NetID) you will likely be prompted for credentials. You will need to enter your NetID credentials with the username set as ad\<netid>; where <netid> is your NetID.
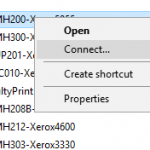
The printer connection will be established and if necessary the driver will be installed. Once the progress dialog completes and disappears, the printer has been added.
Created On
Last Updated On

